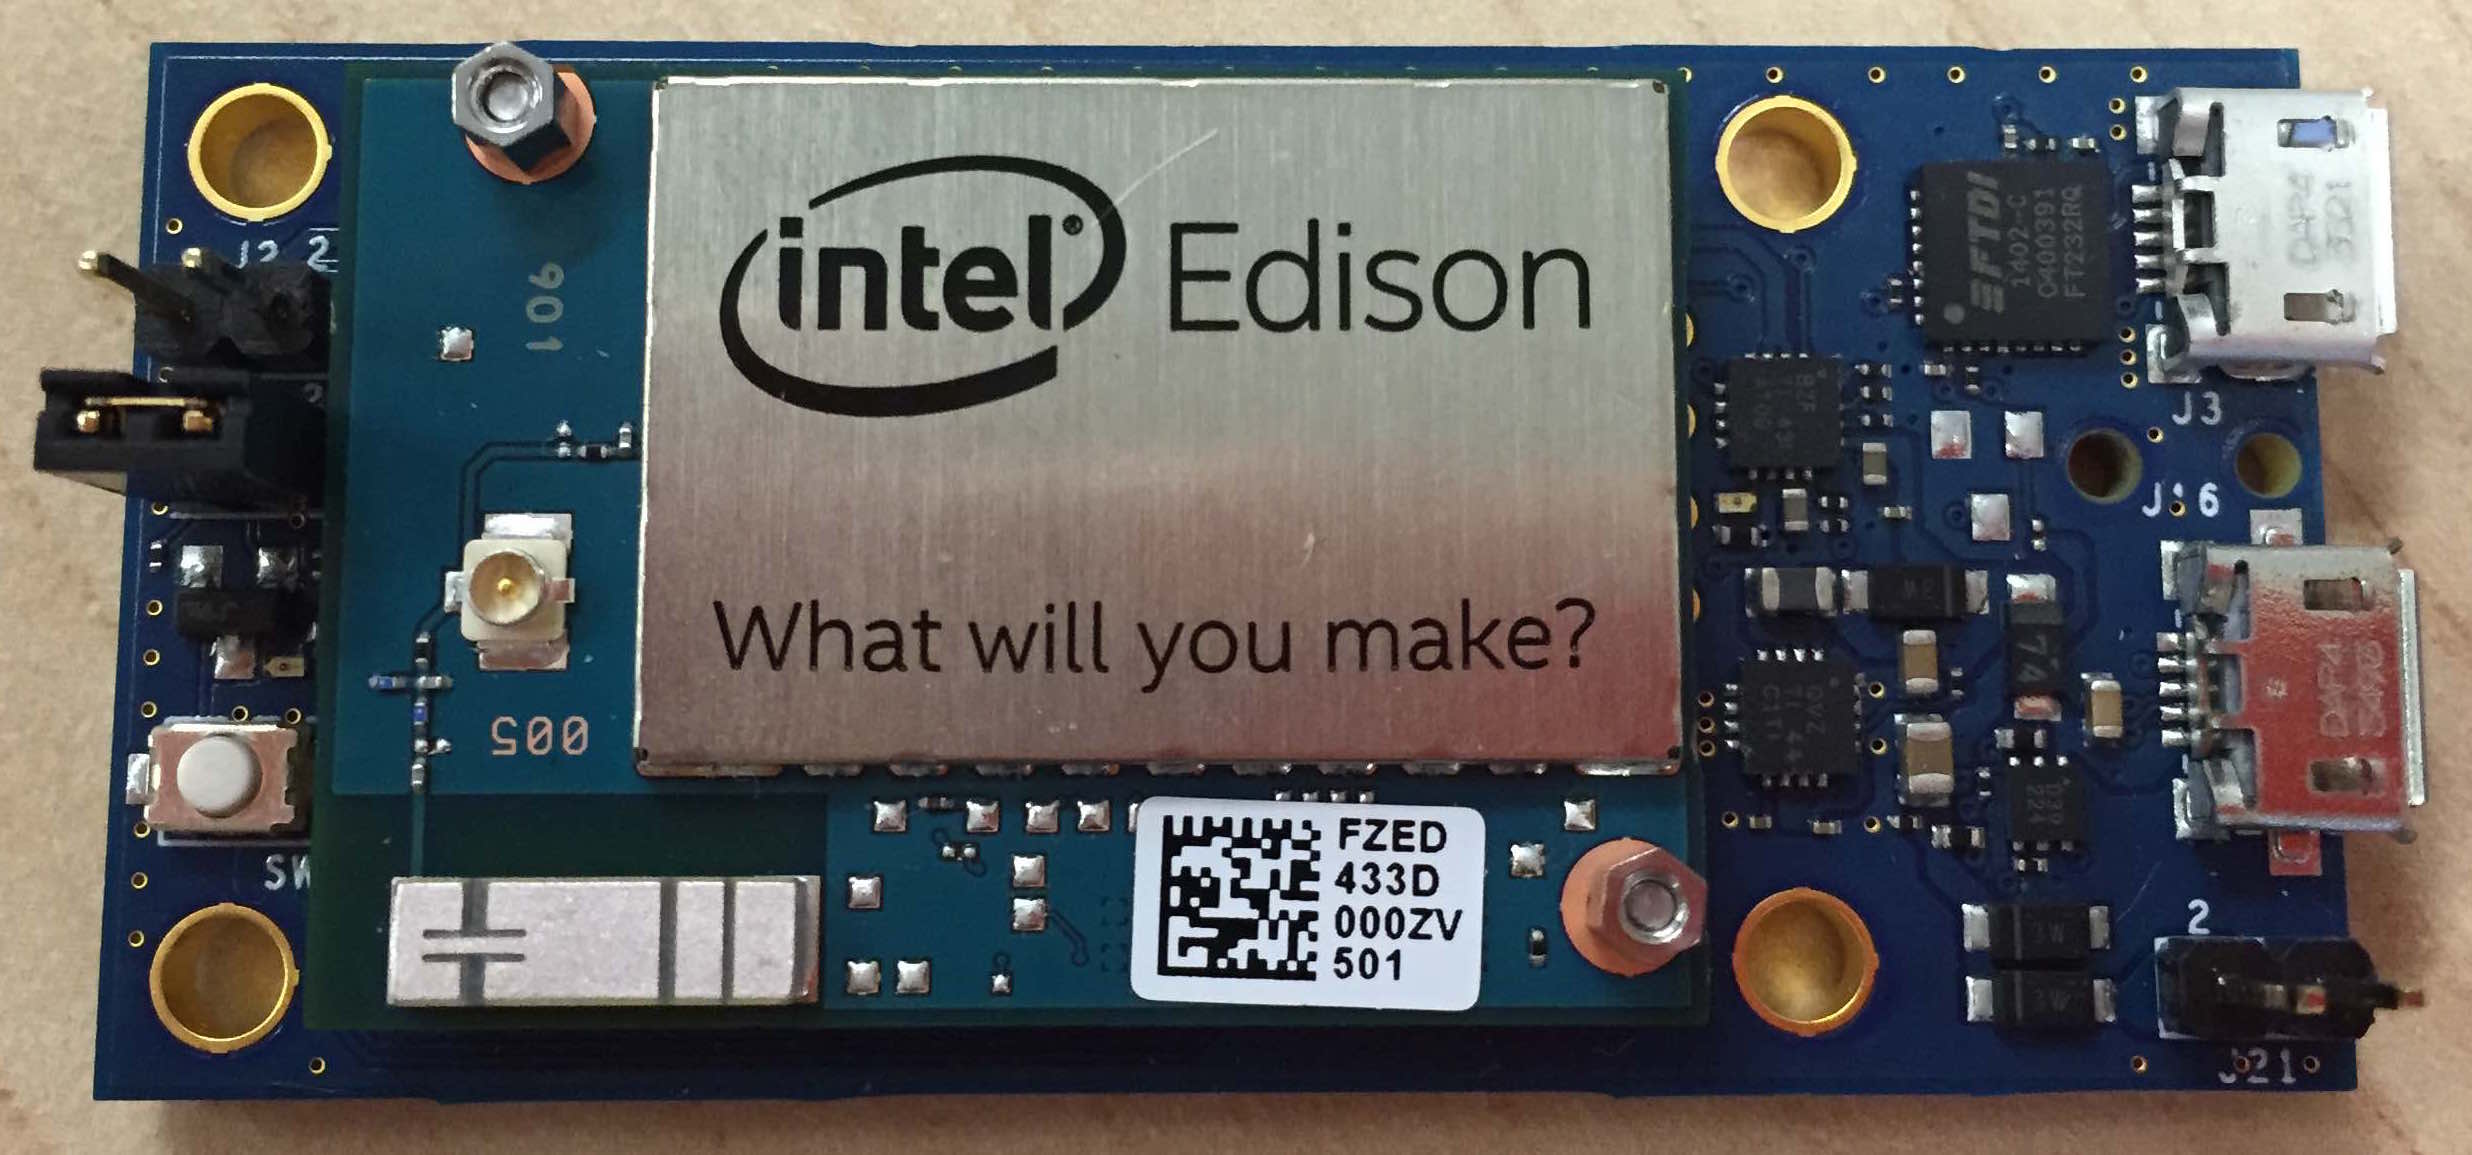
Connecting a USB device to the Edison Mini breakout board
Introduction
In this post, we will connect a USB device to the Edison mini breakout board. If you haven't set up Edison yet, please go here, then come back to this post.
Supplies
These are the supplies you will need:
- Micro USB OTG to USB Adapter (like this one)
- 9V battery snap connector (like this one; in my case, I soldered a 2-pin connector to a snap connector with open leads)
- 9V battery
- A USB device (I'm using the Creative Live! Cam Sync HD 720P Webcam)
Supplying power to the Mini breakout board
There are four primary ways to supply power to Edison using the Mini breakout board (more info can be found here):
- J2 (upper left)—a battery connector to supply power, such as a rechargeable Lithium Ion battery
- Micro USB port labeled J16 (2nd port from the top)—this is how the board was powered when we first set up Edison, but it can also act as a USB host
- J21 (lower right)—this is the main power input, where 7-15 VDC should be applied
- J22 (on the bottom of the board directly underneath J21)—a power jack can be soldered onto the circle and square solder pads to supply power; again 7-15 VDC should be applied
In order to use Edison as a USB host, power must be supplied externally using either J21 or J22. If you supply power with a battery on J2, it will not power the USB connector. So, let's connect a 9V battery to J21:

Make sure that the red wire is connected to the left pin and the black wire is connected to the right pin (ground). The board lights should now turn on!
Connecting a USB device
Attach the Micro USB OTG to USB adapter to J16 and connect the USB device (I am using a webcam in this example):

Let's check if the USB device is detected. First, SSH into Edison:
ssh root@myedison.localwhere myedison is the name of your Edison.
Type lsusb at the prompt. This is a Linux command for displaying information about connected USB devices. Hopefully, your console output looks something like this:
root@myedison:~# lsusb
Bus 001 Device 002: ID 041e:4095 Creative Technology, Ltd
Bus 001 Device 001: ID 1d6b:0002 Linux Foundation 2.0 root hub
Bus 002 Device 001: ID 1d6b:0003 Linux Foundation 3.0 root hub
The first line shows that my Creative Cam is detected.
You should be good to go with a lot of USB devices after following these steps. However, you may need to install drivers, as well. For example, if you want to use a webcam, I highly recommend using a UVC-compatible webcam, so that you can use the UVC Linux driver.
If you set up AlexT's unofficial repository when getting started with Edison, continue reading on; if not, please set it up, then continue.
To install the UVC driver, type:
opkg install kernel-module-uvcvideoIf the webcam was already plugged into the board, unplug and plug it back in to make sure the webcam is detected properly.
Verify that the webcam is detected by typing dmesg -c. The console output should look similar to this:
[   92.910838] hub 2-0:1.0: USB hub found
[   92.910899] hub 2-0:1.0: 1 port detected
[   92.957888] pmic_ccsm pmic_ccsm: USB VBUS Detected. Notifying OTG driver
[   93.210150] usb 1-1: new high-speed USB device number 2 using dwc3-host
[   93.329961] usb 1-1: New USB device found, idVendor=041e, idProduct=4095
[   93.329992] usb 1-1: New USB device strings: Mfr=3, Product=1, SerialNumber=2
[   93.330014] usb 1-1: Product: Live! Cam Sync HD VF0770
[   93.330033] usb 1-1: Manufacturer: Creative Technology Ltd.
[   93.330052] usb 1-1: SerialNumber: 2014090439994
[   93.339634] uvcvideo: Found UVC 1.00 device Live! Cam Sync HD VF0770 (041e:4095)
[   93.352641] input: Live! Cam Sync HD VF0770 as /devices/pci0000:00/0000:00:11.0/dwc3-host.2/usb1/1-1/1-1:1.0/input/input3
Also, verify that the video device node has been created by typing ls -l /dev/video0:
root@eejun-edison02:~# ls -l /dev/video0
crw-rw----    1 root     video      81,   0 Nov 10 15:57 /dev/video0
Congratulations! You have now successfully connected a USB device!